Saturday, September 15, 2012

Kombucha - The Healthy Elixir - Bottling

So, its been around 16-20 days; time to start bottling our kombucha.  As you well know, kombucha is some expensive stuff in the super markets / 
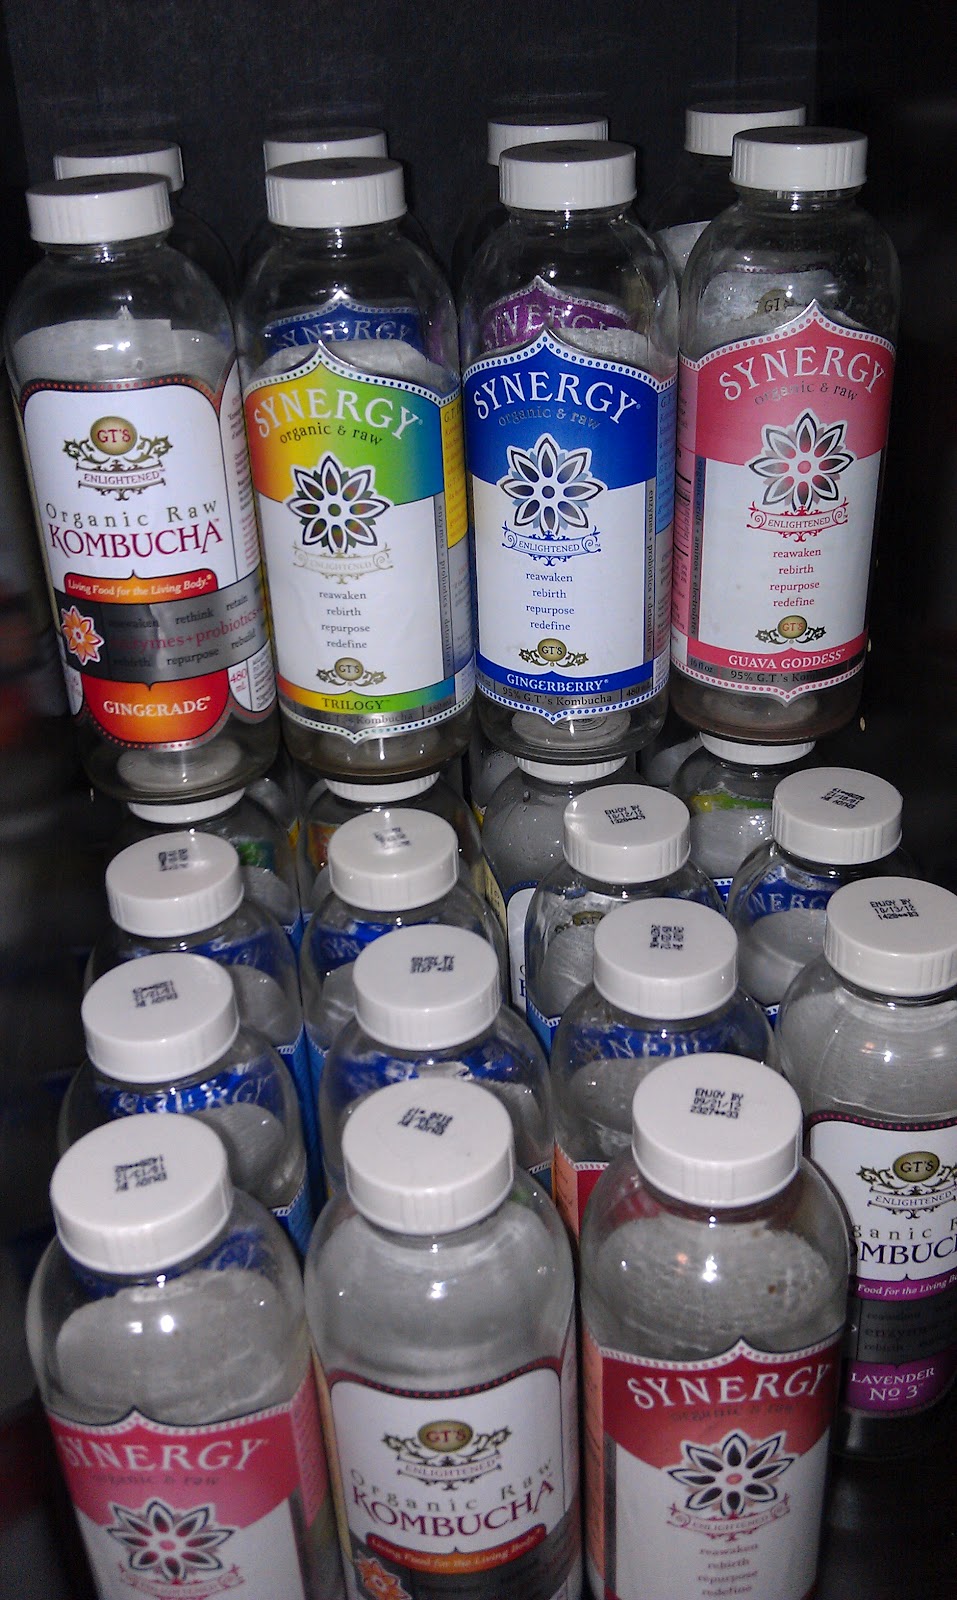
heath food stores.  So I have taken the liberty of saving these aforementioned G.T kombucha bottles.  Why?  Well, for one thing its recycling in a whole new way.  Why dump these bottles off in a landfill when we can reuse them, plus they clean so darn easily.  Before we can start experimenting with different flavorings we will need to sanitize these bottles.  Why yes, we will be using Straight A again, good guess!  Take a quarter of a teaspoon of Straight A and poor it into the bottles, give them a shake with hot water and rinse.  Also, don't forget to wash the caps too.  Once we have completely sanitized we can now bottle said kombucha...   


What I have done here is simply poor my 'buch into a clean and sanitized cup for easier pouring.  If you have a funnel use it, you'll be glad you did.  Next, I added a quarter of a cup of blueberry juice to another cup.  I added the kombucha and the blueberry juice to the bottle and repeated 7 times.  I also grated fresh ginger into a paper towel and squeezed that into the bottles as well.  Can you tell I like the "gingerberry" flavor of G.T's! 

Above is a collection of bottles I have been saving and storing away.  The picture to the right is my finished product.  Now I will let some additional fermentation happen, so I will have some nice bubbles.  For those of you new to kombucha, you must understand there is no Alcohol in kombucha.  Kombucha does not ferment in a bad way - the fermenting is literally giving us more good bacteria and healthy acids our bodies love. :)


This is my SCOBY that was formed off the one I got with the kit.  Its a very healthy looking SCOBY and no mold!  For those of you who have gotten mold in the past, give Straight A or a similar sanitizer a try.  On to the next batch, I'm going to need some more gallon jars!  Carry on Kombucha lovers...

Wednesday, September 5, 2012

Brewing Kombucha Update

So finally I gathered some time to start me some Kombucha.  Ok, first things needed is a good sterilization medium; I use straight A.  Straight A can be purchased from any brewing shop, so be sure to check your local brewing stores.  Straight A uses sodium bicarbonate and oxygen to clean.  Make sure to have clean hands and a clean surface to place your sterilized jar etc.

Next step is to start brewing / steeping our tea.  Also making sure our stock pot is sterilized as well.  So we want to bring 1/4 gallon to a boil. Here I have a blend of organic teas: white, black and green.  In some of the reading I have done, I have been told to not use any teas with any oils or flavorings -- obviously I am following a kit but for next time I will use standard black/green tea - non organic probably.  Basically some flavors kill the good bacteria in the brew and we don't want that.  Its not necessary to deviate since we will be flavoring our brew into different flavors of Kombucha much later!  So after our water as come to a boil, we want to kill the boil and drop in our tea bags.  Let them sit for about 20min.  add 1/2 gallon of cold water to the now done tea.  Now we will dump our cold tea into the gallon jar with our SCOBY.

 So, you are wondering as was I.  What in the world is a "SCOBY"?  A SCOBY stands for: symbiotic culture of bacteria and yeast.  Just think of it as a big giant yeast patty, well maybe not.  Think of it as a necessary part of our Kombucha making experience.  Besides we are talking good bacteria here.  Many don't understand that the intestines need good bacteria to digest properly.  Also when we do take antibiotics for illnesses not only does that kill the bad bacteria but it kills the good also.  This is why I like the natural way, let your body fight the bad bacteria and give your body the good :).  So how does one find a "SCOBY" you might be asking yourself?  Well, if you have a kit it may come with a SCOBY that will ship to you.  However, if you don't have a kit you will have to go searching your health store around town - and asking around.  You can also make your own with an original bottle of G.T's Kombucha (Thanks for sharing that again Lissa).  The good thing is, once you have a SCOBY you will have one for life.  The mother SCOBY keeps on giving you baby SCOBIES I have read. 
So here we got our wonderful Kombucha percolating.  The brew has started, the sugar has been added and now the fermentation can take place.  Our SCOBY will be giving us the wonderful benefits.  This unit came with a temperature strip.  You want the brew to sit in a dark place at around 70 degrees.  Nothing above 90 degrees please.  Also please be sure to cover your brew with a breathable cloth. 14-21 days its should be finished.  

 You can tell how the SCOBY has started to form a daughter SCOBY below.  Another update coming your way in about a week and a half.


Saturday, August 25, 2012

Brewing Kombucha


It all started when I became addicted to Kombucha.  I started to drink G.T's Kombucha because of the health benefits, not really the taste.  All that changed when I found myself not only drinking Kombucha for its health benefits but stocking up on the stuff for the taste.  My grocery stores shelf's are literally getting bare from me!  Its not my fault I have nearly wiped them clean - blame kombucha.  I mean, I am hooked to the stuff!  Reflecting back on the first Kombucha I have ever had - which was the green chlorella version, I hated it.  In fact I thought Kombucha was disgusting but I drank it for the health benefits, I didn't care about the taste.  However trying some of the other flavors of G.T's I was hooked.  Gingerberry. Trilogy, lavender; they were growing on me and I started to start my day off with them.  I was feeling more alert and ready to conquer the day, it gave me a health buzz that I have never quite seen.

All that said, I have decided to brew my own Kombucha, not only for the health benefits but for the taste, which I have grown to love.  So why didn't I go all on out, since I have brewed things in the past you might ask?  Simple, I have never brewed kombucha before and I want to maximize the success, I can always brew bigger batches in my 5 gallon carboys later.  So I decided to do what every amateur would do, buy a kit right?  That is exactly what I have done.


This kit includes:

The glass jar (1 gallon)
Temperature strip
Organic teas (white, black, green blend)
Organic cane sugar
A set of lovely instructions
A place to "claim" your free scoby

Note: I have also been told that you can use a bottle of original G.T's Kombucha (Thanks Lissa!!) - In which I have picked up in-case of dismal failure on my part.  We will see what the foreseeable future has in store.  Fingers crossed lady's and gentlemen. :)   More to come in the next post...

Saturday, January 28, 2012

Let's Talk Sicilian Olive Oil...


Make no mistake about it, this oil that I cherish is a tad expensive.  Chances are you have see many of the bigger named chefs use this same olive oil.  For example Mario Batali and Eric Ripert. Mario seems to go through bottle after bottle on his older show "Molto Mario"; as does Eric Ripert with his elegant approach to fresh cooking on his show "Avec Eric".  There is just something about Sicilian olives that bring dishes together.  It starts out with a very smooth mellow green flavor and finishes a touch spicy.  This is by far the best oil I have ever tasted and it works with anything you do!  Usually with oils you get either not enough flavor or way to much flavor.


In other words the flavor profile just isn't well rounded. This oil is perfectly balanced, it just isn't overcomplicated but yet isn't so simple where it doesn't impact the dishes your cooking.  It brings flavors together.  One thing you can't go wrong with is making a carbonara with this oil.  Anything simple works as well.  


If you live in bigger cities or towns you may be able to find this oil at a local gourmet store; however chances are you will have to order this fine oil online.  Do yourself a favor and get away from the grocery store oils which mix oils from 4-8 different countries.  Nothing wrong with them, but get an oil that is robust for cooking great dishes.  Simply use it sparingly if your concerned with the price.  This is the olive oil you have been looking for!  

Sunday, January 22, 2012


Coriander crusted cod over split pea stew


I made a simple split pea stew with some pan fried cod (crusted in coriander seeds). Winter is tough, because you probably don't have much coming out of your garden. However dried split peas / beans from your garden that have been dried is a perfect medium. Store bought however are cheap and convenient. Try this recipe out...

Recipe:

Ingredients

2 fillet of cod (defrosted)
2 tablespoon coriander seeds
1 tablespoon Mae Ploy Sweet Chilli Sauce 
1 tablespoon butter 
2 tablespoons garlic powder
salt/pepper to taste
Splash of soy sauce
2 cup of split peas (you'll have extra)
6 cups water
Glug of olive oil
Tin of anchovies (trust me)

First get your split peas into a rice cooker or stock pot with your anchovies and soy sauce; pour in water and bring to boil for a few min and turn down to a simmer.  If using a rice cooker just use the boil/simmer setting.  Simmer for 30-45 min.  When peas are nearly done add a table spoon of butter.  Peas will be done when they flake.

While your peas are simmering crush up your coriander seeds in a mortar and pestle.  Add a quarter of a tea spoon of garlic and a sprinkle of salt / pepper in the mortar.  Give it a bit of a bash.  Next, rub fish with Chilli Sauce and sprinkle your spices on both sides of fish.  Pan fry the fish with olive oil on both sides on medium-high for 1 min each or until done.  Serve this encrusted fish over the split pea stew.  Enjoy, a bit different but good.